How to Transplant Seedlings

About Transplanting Seedlings
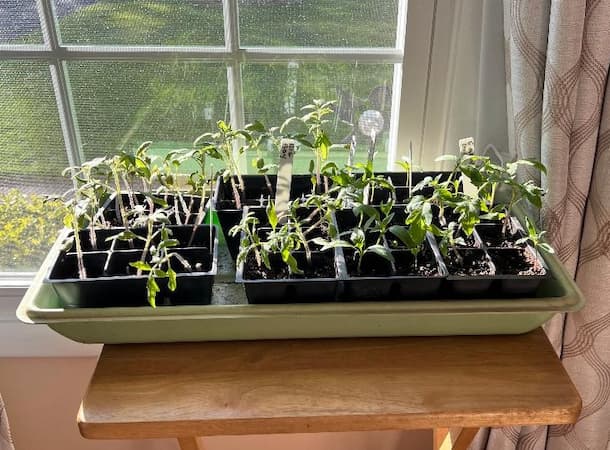
You have pampered your baby seedlings indoors, painstakingly giving them water, nutrients, and as much sunlight as you possibly could. You took them on the deck on warm, sunny days, and brought them indoors on cold nights. Finally, it’s time to transplant seedlings into the garden. Importantly, you want to do so, without transplanting shock. It’s an exciting day!
Finally, the last frost date in your area has just passed. Your healthy, vigorous seedlings are ready to “move out”, and cozy into their summer home. You want to do so while avoiding transplant shock, which can slow down the growth of your plants.
So, its time to review Seedling Transplanting Basics…………..

How to Minimize and Avoid Transplant Shock
Let’s start with a quick overview of what causes transplanting shock:
Disturbing and damaging roots, as you plant your seedling. Tiny feeder roots are easily broken.
Cold temperatures. Your young plants were cozy indoors or in a hothouse or greenhouse. Freezing weather may kill them. And cold weather can stunt their growth. Hopefully, you have been hardening off your seedlings.
Dry or wet soils. Young seedling needs moist soil. If wet spring weather has left your soil soggy, allow excess water to drain a bit, before declaring today as “Transplanting Day”. You may also want to raise the garden soil a little, to help excess water to drain off.
Hot sunlight can cause your young transplants to wilt, especially if their roots have been disturbed.

How to Transplant Seedlings
Prepare the garden in advance of transplanting day.
Mix ample amounts of compost and peat moss into the soil. About Peat Moss
Check soil pH. Adjust, as needed. See soil pH
Transplant frost-sensitive seedlings after the last frost date in your area. Cold weather can slow the growth of your plants. If cold weather is still forecasted, hold off transplanting for a day or so.
Select a cool, cloudy day. Hot sunshine, warm temperatures, and dry winds can temporarily wilt transplants. If you can’t wait, provide shade cover for a day or two.
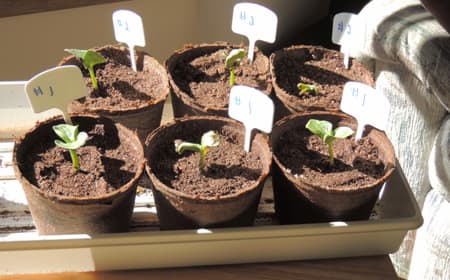
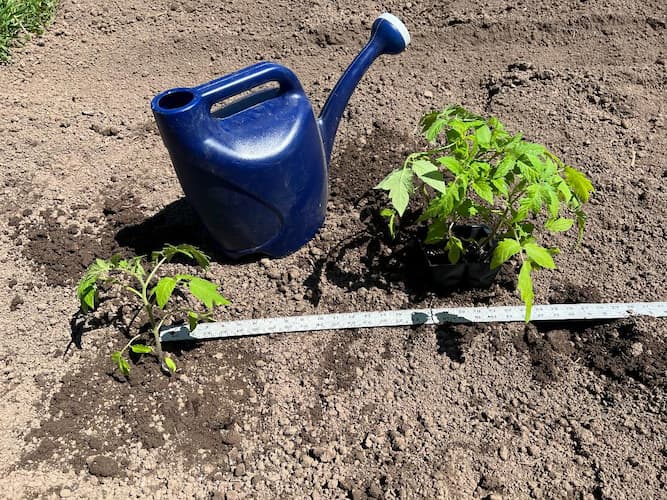
Dig a hole twice the size of the roots. Set the roots into the hole. If you are using peat pots, just set the pot right inside of the hole. The roots will be completely undisturbed, and will quickly and easily penetrate the pots and grow into the garden soil.
If you are using plastic pots, loosen the soil around the inside of the pot with a knife. Then, very gently remove the roots from the pot.
Fill in the planting hole with a combination of garden soil, compost, and peat moss.
Press down ever so gently, but be careful not to stress or damage the roots.
Sprinkle a light application of fertilizer around the plant. Or, water with liquid fertilizer.
Water the plant thoroughly. Then, keep the soil moist for several days, to help the roots to re-develop.
Related Articles
People who like this article will also like:
Seed Starter Supplies – seed what’s out on the market, to help get your indoor seedlings off to a great start.
Please support our site. Shop for:
- rmmatthews100@hotmail.com
- 585-721-6528
- Rochester, NY
©1999-2024 GardenersNet.Com, All Rights Reserved

