Starting Seeds Outdoors

How to Start Seeds Outdoors
One might think that starting seeds outdoors is just a matter of sticking some seeds in the ground. A few days later, watch them grow as the tiny seedlings emerge from the soil, to greet the sun.
If only it were always that easy……..
How to Plant Seeds
First, select good, high-quality seeds. Nothing is worse than to pin the hopes of your new gardening season on old seeds, or seeds of questionable quality.
It’s okay to save seeds from last year’s crop. However, perform a seed germination test, to be sure the seeds are viable.
Perform a Soil Test. Check soil pH and fertility. About soil pH
Adjust the soil ph and add fertilizers, as needed.
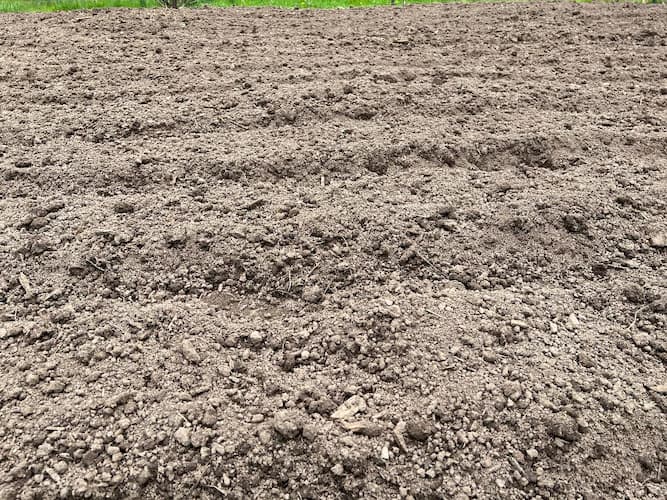
Prepare the garden soil. Dig deeply to loosen the soil. Remove large rocks, stones, roots, and debris.
If your area is rainy, or the garden is in a low spot, slightly elevate the soil. This helps avoid seeds rotting.
Read the instructions on seed packets to determine the proper spacing and planting depth.
It is extremely important not to plant seeds deeper than suggested on the seed packet. This is the most common cause of germination problems, especially in heavy soils.
Cover the seeds with loose garden soil. Do not tamp the soil down. This only makes the soil harder for the seedling to penetrate.
Applying fertilizer at planting is a common practice. Use a granular fertilizer. And follow the instructions on the package, for application rates.
Water the seeds immediately after planting. You do not need to water deeply, only enough to reach just below the depth of the planted seeds.
Mark the rows! Otherwise, you may go out to the garden several days later, and not be certain where you planted the seeds. Weeds likely will have emerged, and you will not know where to safely weed.
Check the planting area daily for moisture conditions, and for signs of pests that may be looking for a free snack of your seeds.
Seed Sowing Tips
Do not plant deeper than the depth indicated on the seed package. This is by far the number one cause of germination failure.
Keep the soil moist, not wet. Wet soils rot seeds.
Elevate the soil slightly for wet areas, especially if planting in early spring.
Mark the row with fast-growing radishes. Just plant a seed every 4-6 inches. Radishes are tasty soil markers.
Thin seedlings to recommended spacing.
Soaking seeds helps to speed up germination.
Nicking seeds helps speed up germination for some, but not all seeds.
Soil temperatures are important to germination. Cool-weather crops germinate in cooler soils. Warm weather crops need warmer temperatures to sprout. Raise soil temperatures, by covering the planting site with black plastic, or raising soil levels before planting. Lower soil temperatures by covering the planting area with straw, or providing shade over the site. Ie. an old card table offers cool shade to small areas.
Seed Starting Tip: For easier row spacing: Dig your seed row. Then, place a strip of toilet paper along the row. Sow seeds on top of the toilet paper and cover them up with loose garden soil. The paper decomposes in the soil.
Critters Like Your Seeds
Birds, squirrels, chipmunks, mice, and moles Will seek a meal from your freshly planted seeds. Learn about controlling these critters.
More Resources:
People who read this page will also like:
Please support our site. Shop for:
- rmmatthews100@hotmail.com
- 585-721-6528
- Rochester, NY
©1999-2024 GardenersNet.Com, All Rights Reserved

