1. Prepare the flower bed– Pull and remove all weeds from the area. Then, turn the soil over, breaking up clumps of soil and loosening the soil well. Remove all rocks that you find. If this is a new flower bed, it is a great time to add peat moss, especially if the soil is hard clay. If you are working in a low or wet area, bring in a little extra soil, to slightly elevate the flowerbed to improve drainage.
2. Select a planting pattern for your bulbs- After selecting the bulbs you want to plant and grow, you need to decide how you want to arrange them. You can mix and match, displaying your creativity. Before you dig, mark the position of each bulb. Using a sticks as markers works well, to assure proper spacing and design.
3. Dig the hole- If you have a bulb planter or loose soil, this job is a snap. Each type of bulb has a desired depth range. Plant them too deep, and they can’t break through to the surface in the spring. Plant them too shallow, and they freeze and die. In general, plant bulbs to a depth that is twice the diameter of the bulb.
4. Place the bulb in the hole- For new growers… the root side goes down, and the pointed side up. You can’t imagine how many new growers ask this question, so you are in good company.
5. Slightly cover the bulb with soil. Then add fertilizer. Fertilizer specifically formulated for bulbs is best. Follow the directions on the box for the proper amount to use. Then, cover the bulb the rest of the way with more garden soil.
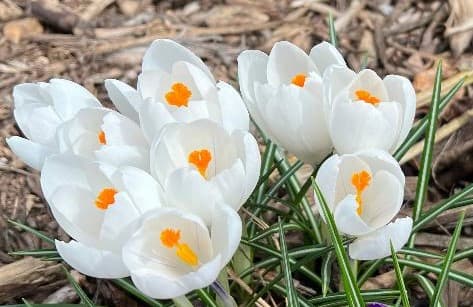
6. Add a thin layer of mulch, if desired. Do not use heavy bark. If you apply mulch thickly, you may need to remove some in the spring, to allow the bulbs to pop through. We do not recommend mulch for more delicate bulbs, like crocuses.
7. Wait and wait and wait- For Spring plants bulbs, the wait is just a couple of months. However, for Fall planted bulbs, the long winter wait begins. There is nothing you need to do between now and spring. So, grab a cup of hot chocolate, and curl up on an easy chair by the fireside.
Tip: If your area is experiencing a long and cold winter, you may need to add mulch or some type of covering, to keep the ground from freezing too deeply. Almost anything will do. While it is best to do this before the snow flies, you can do it anytime. Even amid winter and in the middle of a cold snap.
Important: After your flowers have died in the spring, you mustn’t immediately pull them up or cut off the leaves. For a few weeks after flowering, the leaves are sending food(energy) to the bulb for storage and use next spring. There is not a lot of excess food storage. So, the leaves need as much time as possible to be productive.